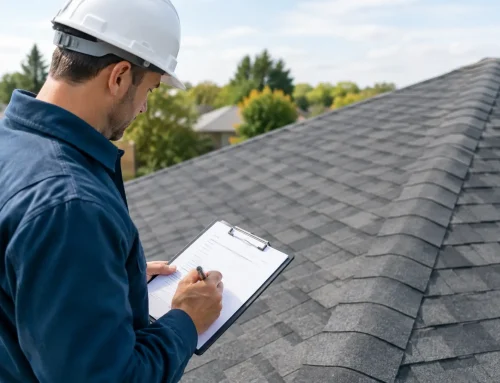

A commercial roof can look fine from the parking lot while water is already moving beneath the membrane, soaking insulation, staining ceilings, and putting operations at risk. Knowing how to inspect commercial roof damage gives property owners and managers a practical way to catch problems early, document storm-related loss, and make informed repair decisions before a small opening becomes a costly interruption.
The goal is not to diagnose every roofing issue yourself or take unnecessary risks. A good inspection helps you identify warning signs, protect the building, and know when a qualified commercial roofing contractor should take over.
Start With Safety and Building Access
Commercial roofs are not casual walking surfaces. Wet membranes, loose gravel, wind, skylights, electrical equipment, and unprotected edges can create serious hazards. Never inspect a roof during lightning, high winds, heavy rain, or icy conditions. If the roof is steep, the access route is unsafe, or you do not have fall-protection training, stay on the ground and schedule a professional inspection.
Before going up, review the building layout and roof access plan. Let another person know where you are, use proper footwear with clean, non-marking soles, and avoid walking on areas that appear soft, bubbled, or waterlogged. On a large facility, it also helps to divide the roof into sections so observations are organized and nothing is missed.
A safe inspection starts inside the building. Walk the top floor, especially after a storm, and look for fresh ceiling stains, dripping water, peeling paint, damp insulation, musty odors, or warped wall finishes. Check around roof drains, skylights, HVAC penetrations, and exterior walls. Interior evidence does not always pinpoint the leak directly above it, since water can travel along decking or framing, but it gives a roofing professional useful clues.
How to Inspect Commercial Roof Damage From the Ground
A ground-level review can reveal a surprising amount without putting anyone at risk. Walk the perimeter of the property and look up at the roof edge, parapet walls, gutters, downspouts, rooftop equipment, and visible flashing. After hail or wind, inspect the grounds for displaced metal, membrane pieces, insulation, broken branches, or granules and coating residue near drains and downspouts.
Pay attention to changes that were not present before the weather event. A bent coping cap, lifted edge metal, missing fasteners, or branches resting against the building may indicate wind damage. Dented metal vents, HVAC panels, gutters, and flashing can support evidence of hail impact, even when the actual roofing surface is difficult to see from below.
Take clear, dated photos from several angles. Include wide shots that establish location and close-ups that show detail. If there is standing water near the building, photograph it after rainfall, but do not assume all ponding is storm damage. Some flat roofs hold water because of drainage design, settling, or clogged drains. The distinction matters when planning repairs and discussing an insurance claim.
Inspect the Roof System Methodically
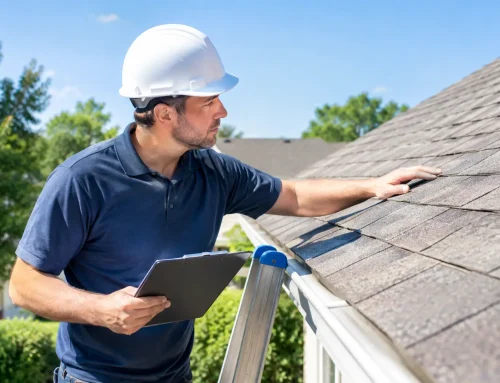
If conditions are safe and trained personnel can access the roof, inspect one section at a time. Commercial systems vary widely. A TPO, PVC, EPDM, modified bitumen, built-up roof, metal roof, or coated roof will show damage differently. The same storm that produces obvious punctures in one system may create subtle seam stress or fastener issues in another.
Begin at the roof perimeter. Wind pressure is often greatest at corners and edges, making these areas more vulnerable to lifted membrane, loose flashing, displaced ballast, damaged coping, and pulled fasteners. Check whether metal edge details remain firmly attached and whether sealant joints have split or separated.
Then inspect field areas, keeping foot traffic to a minimum. Look for punctures, tears, cracks, open seams, wrinkles, blisters, exposed reinforcement, loose gravel, or sections where the membrane has pulled away from the substrate. On metal roofs, look for dents, separated seams, backed-out fasteners, cracked sealant, and damaged panels around penetrations.
Do not overlook transitions. Most commercial roof leaks begin where materials meet, not in the broad center of the roof. Inspect flashing around HVAC curbs, vents, pipes, skylights, drains, scuppers, expansion joints, and walls. A small separation at a pipe boot or curb can allow significant water intrusion over time.
Check Drainage and Signs of Trapped Moisture
Drains, scuppers, gutters, and downspouts deserve close attention. Remove loose leaves or debris only when it is safe to do so. Water that cannot leave the roof can accelerate membrane deterioration, add weight to the structure, and reveal low areas that need correction.
Look for dirt rings, algae growth, deteriorated coating, or debris lines that show where water regularly sits. Standing water that remains more than 48 hours after rain should be evaluated, especially if it is new or increasing. A roofing contractor can determine whether the issue is a clogged drain, damaged insulation, deck deflection, or inadequate slope.
Soft spots, bubbling, and spongy areas may indicate trapped moisture beneath the roof surface. Do not probe, cut, or puncture these areas yourself. Opening a roof system without the right repair materials can make a contained problem worse and may affect manufacturer warranty coverage.
Document Damage for Repairs and Insurance
Good documentation protects your maintenance budget and makes the next conversation more productive. Record the inspection date, recent weather events, approximate time damage was noticed, and any active leaks or business interruptions. Note the roof section, nearby equipment, and visible conditions in each photo.
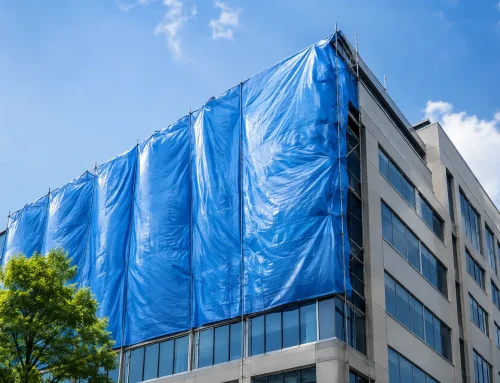
For storm-related loss, preserve evidence before temporary repairs change the appearance of the damage. Emergency tarping or sealing may be necessary to prevent further water intrusion, but photograph the affected area first when conditions allow. Keep invoices for emergency work, water mitigation, interior repairs, and temporary relocation or operational expenses connected to the event.
A professional inspection adds another level of documentation. Commercial roofing specialists can identify conditions that are easy to miss, measure affected areas, assess whether repairs are appropriate, and prepare clear findings for owners, facility teams, and insurance adjusters. Crown Exteriors can also help property owners document storm damage and navigate the claims process with confidence.
Know When Damage Needs Immediate Attention
Some roof concerns can wait for a scheduled evaluation. Others need same-day action to limit water damage and protect occupants. Call for emergency service if you see active interior leaking, membrane sections lifting in the wind, major punctures, damaged skylights, fallen tree limbs on the roof, collapsed drains, or water collecting near electrical equipment.
Even without an active leak, arrange a prompt inspection after severe hail, straight-line winds, tornado activity, or a hurricane. Commercial roofs can sustain damage that is not immediately visible, and delayed repairs can allow a claim-related issue to develop into broader deterioration. It is generally easier to establish the condition of the roof when the weather event is recent and documentation is complete.
Create a Routine Inspection Schedule
Storm inspections matter, but regular maintenance is what helps commercial roofs reach their expected service life. Most properties benefit from a professional inspection at least twice a year, commonly in spring and fall, plus an inspection after significant weather. Buildings with heavy rooftop equipment, frequent foot traffic, mature trees, or known drainage concerns may need more frequent attention.
A practical roof file should include inspection reports, photographs, repair invoices, warranty documents, drain cleaning records, and notes about prior leaks. That history helps identify recurring trouble spots and gives a new contractor or insurance representative a clearer picture of the roof’s condition.
A careful inspection is not about finding reasons to replace a roof. Sometimes a targeted repair, resealing a penetration, clearing drainage, or replacing damaged flashing is the right answer. When widespread moisture, repeated leaks, aging materials, or storm damage affect a larger area, replacement may provide better long-term protection. The right recommendation depends on the roof system, the extent of damage, the building’s use, and the cost of repeated repairs.
When your building has been through severe weather or a roof concern is creating uncertainty, act before the next rain exposes the full extent of the problem. Clear photos, prompt professional guidance, and an honest assessment can keep a roofing issue from disrupting the people and business operations inside.
Related Posts
If you enjoyed reading this, then please explore our other articles below: