
A roof can look fine from the driveway and still have damage that leads to leaks, interior staining, or a denied opportunity to document a storm loss. Knowing what happens during a roof inspection helps you understand what a qualified contractor is looking for, what questions to ask, and what should happen after the inspection is complete.
For homeowners and property managers, the goal is not to be sold a roof you do not need. A proper inspection should give you a clear picture of your roof’s condition, identify damage or maintenance concerns, and explain practical next steps in plain language.
What Happens During a Roof Inspection?
A professional roof inspection typically begins with a conversation. The inspector will ask when you first noticed an issue, whether a recent storm brought hail or high winds, and if you have seen signs such as water spots, missing shingles, granules in gutters, or loose flashing. This background matters because storm damage can be difficult to spot without knowing where to look and when the event occurred.
The inspection then moves from the ground to the roof, when conditions allow it to be done safely. An experienced inspector evaluates the complete roofing system, not just the shingles visible from one side of the house. That includes roof slopes, valleys, ridges, vents, flashing, drainage areas, and the components that connect the roof to the rest of the exterior.
A good inspection is methodical. It should produce observations you can understand, not a vague statement that your roof is either “good” or “bad.”
The exterior evaluation
From the ground, an inspector often starts by looking for visible signs of wear or storm impact. They may check for sagging rooflines, uneven shingle appearance, damaged fascia, loose gutters, bent downspouts, and debris collecting in areas where water should drain freely.
If the roof is accessible and safe to walk, the inspector will examine the surface more closely. On an asphalt shingle roof, that can include checking for missing, creased, cracked, lifted, torn, or punctured shingles. Wind damage may break the seal that holds shingles together, creating an opening where water can eventually work its way underneath.
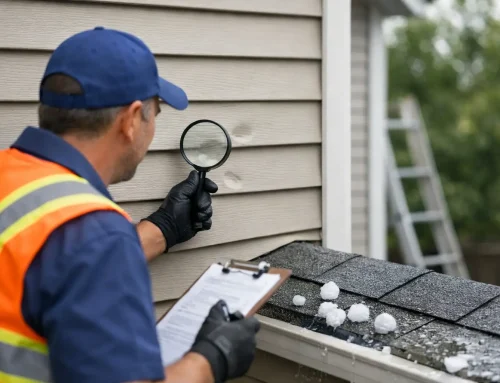
Hail damage requires a careful eye. Hail strikes may leave small areas where shingle granules have been knocked away, exposing the asphalt beneath. These marks can be subtle, and not every circular mark is hail damage. A trained inspector distinguishes storm-related impact from normal blistering, foot traffic, manufacturing variations, or age-related wear.
The inspector also checks vulnerable areas where roofing materials change direction or meet another surface. Valleys, chimneys, skylights, wall intersections, pipe boots, and roof vents all rely on flashing and seals to keep water out. A roof can have shingles in decent condition but still leak around one failed penetration or improperly installed flashing detail.
Gutters, siding, and other storm clues
Storm damage is rarely limited to one component. Dented gutters, downspouts, window screens, metal vents, siding, and soft-metal flashing can help establish whether hail or wind affected the property. These findings do not automatically mean the roof needs replacement, but they provide useful context when evaluating a recent storm event.
Gutters are also inspected for drainage issues and shingle granule buildup. A small amount of granule loss can be normal, especially on a newer roof. Heavy accumulation, bare spots on shingles, or granules washing out after a storm may point to a larger concern. The condition of the gutters can also reveal where water is overshooting or backing up near the roof edge.
For commercial properties, the process may differ based on the roofing system. Low-slope roofs may be checked for ponding water, open seams, punctures, membrane shrinkage, flashing failures, and damage around drains or rooftop equipment. The same principle applies: the inspection should assess how the whole system is protecting the building.
The interior and attic check
Not every roof inspection includes an attic review, but it is often valuable when there is a suspected leak, ventilation concern, or interior water damage. From inside the home, an inspector may look for active moisture, water stains, mold-like growth, damp insulation, daylight visible through the roof deck, or damaged framing.
Ventilation is part of the conversation as well. Excess heat and moisture trapped in an attic can shorten shingle life, contribute to condensation, and make a home less comfortable. However, ventilation recommendations should be based on the home’s existing intake and exhaust setup, insulation, roof design, and local code requirements. There is no one-size-fits-all fix.
An interior stain does not always identify the exact entry point of a leak. Water can travel along decking, framing, or insulation before it appears on a ceiling. That is why exterior findings and interior evidence need to be considered together.
Documentation Makes the Inspection Useful
Clear documentation separates a helpful inspection from a quick look at the roof. Photos should show significant findings, including close-ups of damaged materials and wider images that show where the issue is located. An inspector may also note the roof’s general age, visible wear, affected elevations, and any immediate risks.
If storm damage appears to be present, detailed documentation can support a conversation with your insurance carrier. It is important to understand the distinction: a roofing contractor can identify and document damage, explain repair or replacement needs, and meet with an adjuster when appropriate. The insurance company makes the final coverage decision based on your policy, the cause of loss, and its own inspection.
This is where an insurance-claim specialist can reduce a great deal of stress. Instead of trying to translate roofing terms or remember every damaged item during an adjuster visit, you have documentation and a contractor who can explain what was found. Crown Exteriors LLC helps property owners document exterior damage and navigate the restoration process with clear, honest guidance.
What You Should Receive After the Inspection
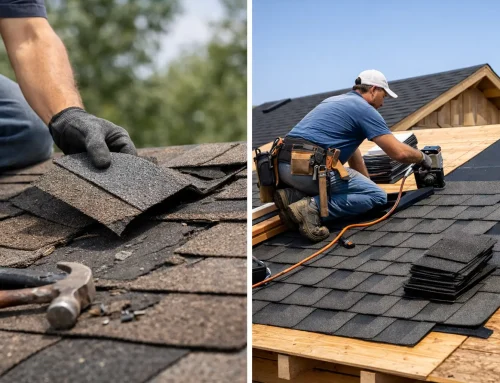
Once the inspection is finished, you should receive an explanation of the findings and a recommendation that fits the actual condition of the roof. Sometimes that recommendation is simple maintenance, such as sealing a flashing issue, replacing a pipe boot, clearing drainage obstructions, or repairing a limited area of wind damage.
Other times, the roof may have widespread storm impact or wear that makes repairs impractical. A contractor should explain why repair is or is not the right choice. For example, matching older shingles can be difficult, repairs may not address damage across several slopes, and repeatedly patching an aging roof can become more expensive than a replacement. On the other hand, a relatively new roof with isolated damage may be a strong candidate for repair.
Ask for your options in writing whenever possible. If replacement is recommended, the scope should address materials, underlayment, flashing, ventilation, cleanup, warranty information, and any related gutter or siding work. If no work is needed, that is valuable information too. An honest inspection gives you confidence to monitor the roof without pressure.
When to Schedule a Roof Inspection
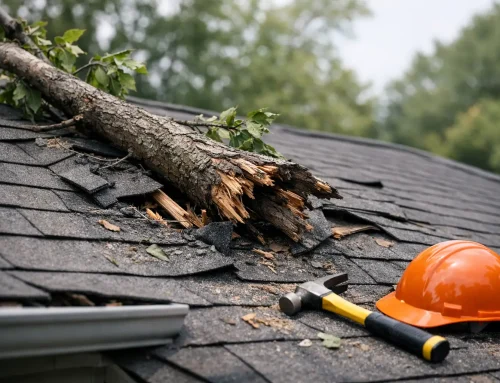
A roof inspection is a smart step after a hailstorm, high-wind event, falling tree limbs, or any event that may have affected the exterior. You should also schedule one if you notice a leak, ceiling stain, missing shingles, granules around downspouts, or a sudden increase in attic moisture.
Even without a known storm, periodic inspections help identify small problems before they become larger repairs. The right schedule depends on your roof’s age, material, tree coverage, local weather, and past repair history. Older roofs and properties exposed to frequent severe weather generally benefit from more frequent checks.
You do not need to climb onto the roof before calling a professional. In fact, doing so can be unsafe and may cause accidental damage. Take photos from the ground if you can do so safely, note the date of the storm or leak, and keep any interior water damage from getting worse by moving valuables and placing a container under an active drip.
A roof inspection should leave you with more than a verdict. It should give you documented facts, a straightforward explanation, and a path forward that protects your property and your peace of mind.
Related Posts
If you enjoyed reading this, then please explore our other articles below: