
A roof problem rarely starts with a dramatic leak pouring into the living room. More often, it starts with a few lifted shingles after a windstorm, hail bruising that is hard to spot from the ground, or flashing that has slowly worked loose around a vent or chimney. That is why a solid roof inspection process guide matters. It helps property owners know what to expect, what an inspector should actually check, and what the next step should be if damage is found.
For homeowners and property managers, the biggest benefit of an inspection is clarity. You want to know whether your roof is in good shape, whether a repair is enough, or whether storm damage may justify an insurance claim. A good inspection should reduce stress, not add confusion.
Why the roof inspection process matters
Not every roof needs the same type of inspection. A routine maintenance check on an older roof is different from a post-storm inspection after hail or high winds. A commercial roof also has different details than a steep-slope residential shingle roof. Still, the goal stays the same: identify damage, document condition, and recommend the right next step based on facts.
This is where experience matters. Some issues are obvious, like missing shingles or exposed underlayment. Others are more subtle, like granule loss, soft spots, damaged seals, or flashing separation around penetrations. If those details are missed early, a smaller repair can turn into a larger restoration project later.
Roof inspection process guide: what happens first
The inspection usually begins before anyone gets on the roof. A contractor should ask a few basic questions about the age of the roof, any recent storms, whether there are known leaks, and what concerns you have noticed inside or outside the property. If you have seen water stains, ceiling spots, gutter debris, or shingles in the yard, that information helps focus the inspection.
The next step is a ground-level review of the exterior. From below, an experienced inspector can often spot uneven roof lines, missing materials, sagging areas, damaged gutters, loose downspouts, and impact points from storm debris. This part also helps identify safety concerns before walking the roof.
If conditions are safe, the inspector then performs a close review of the roofing system. On a residential shingle roof, that usually includes shingles, ridge caps, flashing, vents, pipe boots, valleys, drip edge, gutters, and any roof penetrations. On low-slope or commercial systems, the inspection may focus more on seams, drains, membrane condition, ponding areas, and edge details.
What a professional inspector is looking for
A proper inspection is not just a quick glance. It should involve looking for active damage, aging, installation issues, and storm-related impacts. The exact findings depend on the roof type, but several trouble spots come up often.
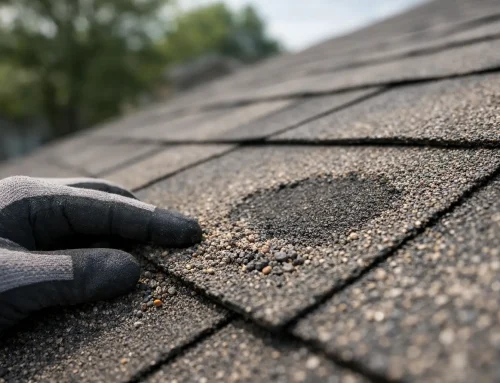
Shingles are checked for cracking, curling, blistering, granule loss, lifted tabs, torn sections, and missing pieces. Flashing is reviewed around chimneys, skylights, walls, and vents because these transition areas are common leak sources. Pipe boots and sealants are inspected for splitting or deterioration. Valleys are checked for wear because they handle a high volume of water runoff.
The inspector should also look at gutters and drainage. Overflow marks, detached sections, denting, and heavy granule buildup can all point to roof problems. Inside the attic or top-floor ceiling area, if accessible, signs such as moisture staining, mold, poor ventilation, or damp insulation may support what is found outside.
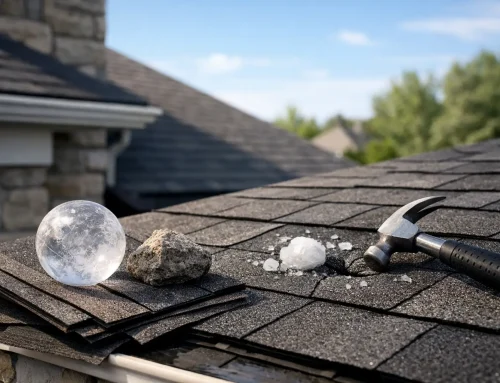
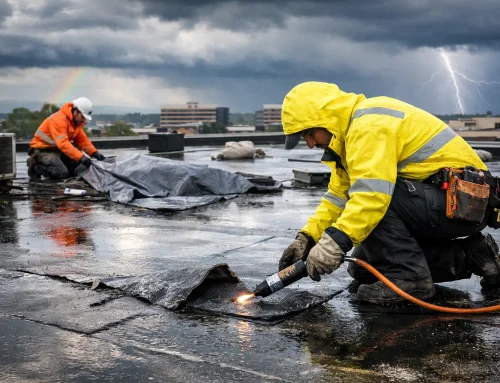
After a storm, the inspection becomes more focused on impact and wind damage. Hail can bruise shingles, crack tabs, dent metal components, and damage soft metals around the roof. Wind can break seals, lift edges, and create weak points that may not leak immediately but still need attention. This is one area where documentation matters almost as much as the inspection itself.
When an inspection turns into insurance documentation
If storm damage is suspected, the inspection should include clear photo documentation and a written explanation of what was found. That matters because insurance carriers do not approve claims based on a homeowner saying the roof looks bad. They look for specific evidence of covered damage.
A contractor with restoration experience can help make that process less overwhelming. Instead of simply saying you need a new roof, they should explain whether the damage appears repairable, whether the damage pattern is consistent with hail or wind, and what supporting photos or notes may be useful if an adjuster needs to review the property.
This is also where honesty matters. Not every roof issue is claim-related. Age, wear, poor ventilation, old repairs, and installation defects are usually handled differently than sudden storm damage. A trustworthy contractor will separate those issues clearly so you know what may qualify and what may not.
Roof inspection process guide: what happens after the inspection
Once the field inspection is complete, you should get a clear explanation of the findings in plain language. If the roof is in good condition, that should be stated directly. If repairs are recommended, you should understand where the problem is, why it matters, and how urgent it is.
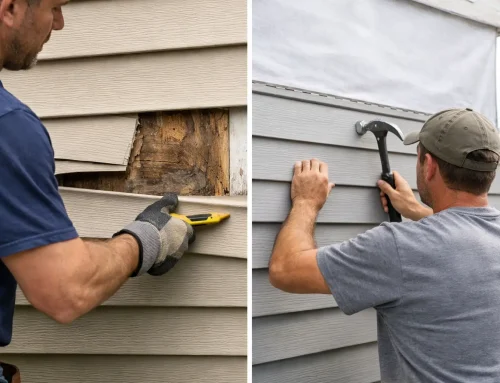
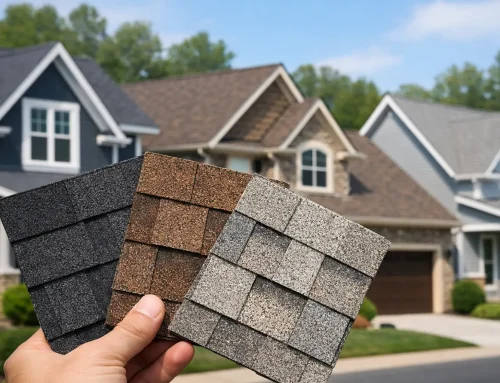
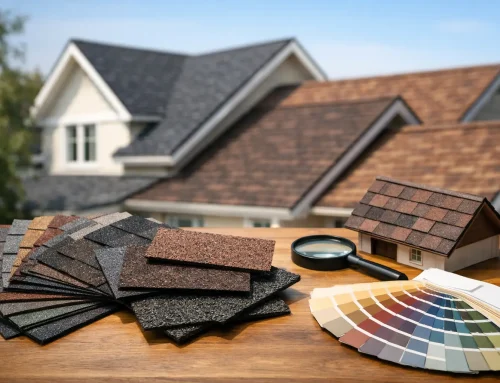
If the roof has widespread damage, the next step may be a repair estimate, replacement proposal, or insurance-claim review. The right path depends on the extent of damage, the age of the roofing system, local building code requirements, and whether matching materials are available. Sometimes a targeted repair is the practical answer. In other cases, patching one area of a storm-damaged older roof only delays a larger problem.
Good contractors do not push the same answer for every roof. They explain the trade-offs. A repair may cost less now, but it may not make sense if the surrounding materials are brittle or nearing the end of their service life. A full replacement may offer better long-term protection, but only if the damage and condition justify it.
How to prepare for a roof inspection
You do not need to do much before an inspection, but a few simple steps help. Make note of the date of any recent storm, especially if you saw hail, strong winds, or falling branches. Take photos of visible debris or damage from the ground if you can do so safely. Inside the home or building, note where you have seen stains, drips, or peeling paint.
It also helps to have basic roof history available. If you know when the roof was installed, whether it has been repaired before, or whether an insurance claim was filed in the past, that gives useful context. If you do not know those details, that is fine. A professional inspection should still provide a strong starting point.
One thing not to do is climb on the roof yourself after a storm. Wet surfaces, hidden soft spots, and loose materials make that risky. A trained inspector has the equipment and experience to assess the roof safely.
Common reasons inspections get delayed
Many property owners wait because there is no obvious leak. That is understandable, but storm damage does not always show up right away. A compromised shingle seal or damaged flashing may hold for a while, then fail during the next heavy rain.
Others delay because they worry an inspection will automatically lead to a hard sales pitch. A professional inspection should do the opposite. It should give you a factual picture of the roof condition so you can make a decision with confidence. At Crown Exteriors LLC, that customer-first approach is especially important when people are already dealing with storm stress and insurance questions.
Timing can also matter for claims. If a storm caused damage, waiting too long may create more questions about when the problem started or whether later wear and tear contributed. That does not mean every issue becomes an emergency, but prompt documentation is usually the smarter move.
Choosing the right inspector
The inspection process is only as good as the person performing it. Look for a contractor who is licensed and insured where required, experienced with your roof type, and able to explain findings clearly without pressure. If storm damage is part of the situation, it helps to work with someone who understands the insurance side as well as the roofing side.
You also want an inspection that leads to action, not a vague report. The right contractor will tell you whether the roof is fine, whether a repair is recommended, or whether larger restoration steps should be considered. That kind of clarity saves time and protects your property.
A roof inspection is not just a box to check off. It is the moment where uncertainty turns into a plan. If your property has been through a recent storm, if your roof is aging, or if you have noticed even small warning signs, getting answers now is usually a lot easier than dealing with hidden damage later.
Related Posts
If you enjoyed reading this, then please explore our other articles below: